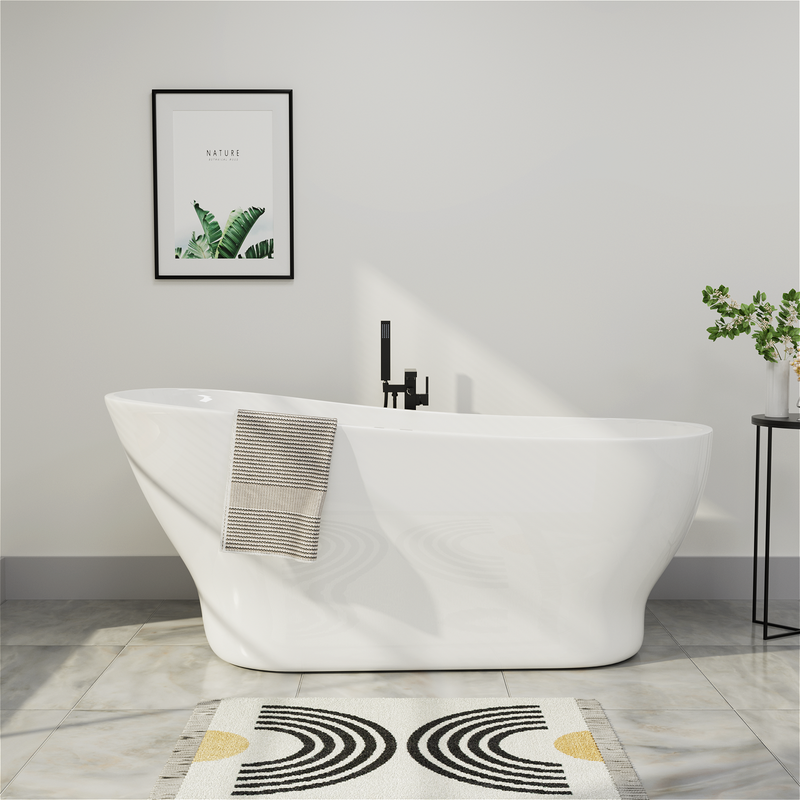
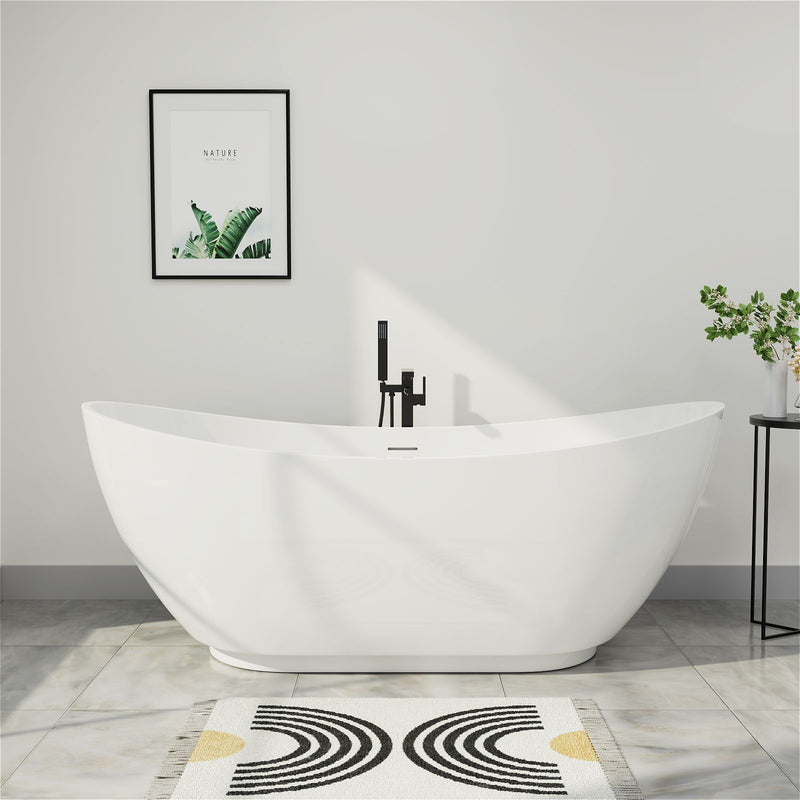
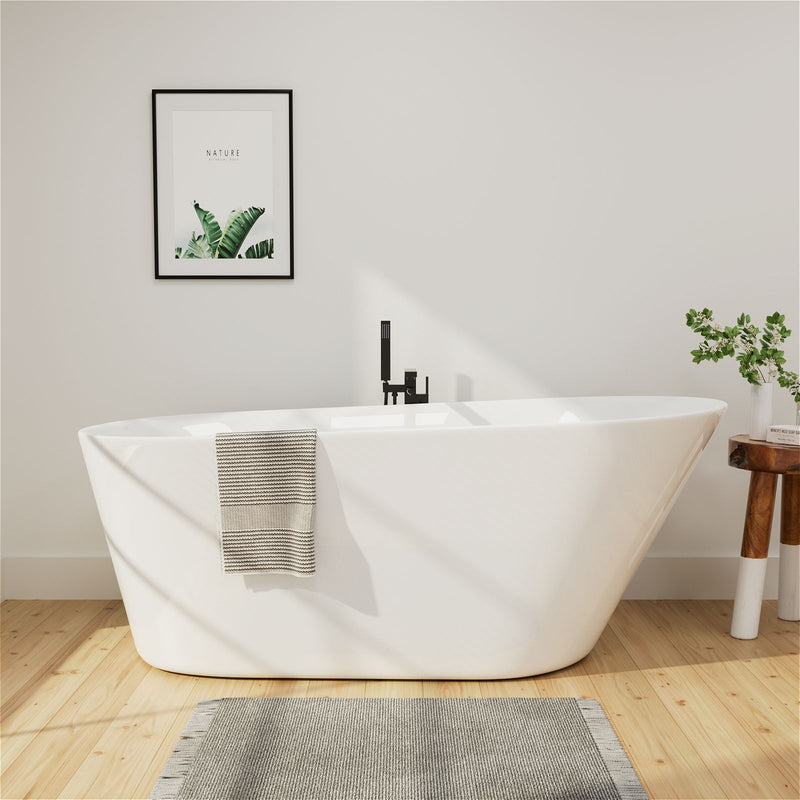
Whether you are building a new bathroom or renovating an old one, installing a freestanding tub is a process that should be done in several stages. From installing the tub to connecting the plumbing to installing the faucets, the installation process will largely depend on the layout of your bathroom.
This guide explains how to install a freestanding tub from start to finish. With adequate planning and preparation, your dream of having a perfect tub will soon be realized.

Simple Steps to Installing a Freestanding Tub
Step 1 Choose the Right Location
The first step is to choose the right location to place the freestanding tub. Unlike other types of tubs, freestanding tubs do not need to be fixed to the wall, so they can be placed anywhere in the bathroom. However, you still need to think carefully about the layout.
First, check the dimensions of the tub and bathroom to make sure there is enough space. There should be 20 to 24 inches of space around the tub so that people can walk through or around the tub. This space is especially important if the room is narrow.
Also, consider plumbing and electrical requirements. When placing this unit, choose a location where plumbing is installed or is easily accessible, such as along a wall stud. Finally, choose a location with a firm, flat floor that can support a full tub (a tub can weigh more than 100 pounds per square foot when full).
Once you've determined the right spot, mark the tub's installation location with tape so you can visually see where it will be. This will help ensure the tub fits perfectly in the designated area.
Step 2 Gather Necessary Tools and Materials
Having the right tools and materials ready will ensure a smooth and hassle-free process.
Here's a list of essential tools and supplies for tub installation:
- Bathtub unpacking and lifting equipment (carrying straps, wrenches, crowbars, etc.)
- Level
- Tape measure
- Pencil/marker
- Adjustable wrench
- Pliers
- Screwdriver
- Silicone sealant
- Teflon duct tape
- Water supply line connectors
- Drain and overflow kits
- Gaskets
- Personal protective equipment, such as gloves, knee pads, safety glasses, etc.
Also, purchase faucets, water supply valves, and other tub accessories. Having all the materials ready ahead of time will minimize the hassles of the installation process.
Step 3 Prepare the Floor
Now that you have all the materials ready, let's prepare the installation area. Good floor preparation provides a solid, flat base for the tub to sit firmly in place.

First, remove any existing flooring or obstructions in the tub area. The surface should be stripped down to the subfloor. If it is a concrete subfloor, use a concrete sealer to waterproof and strengthen the surface.
Then use a level to check that the floor is completely flat. If there are any uneven areas in the subfloor, it may cause the tub to sit unsteadily or crack. Use low-spot fillers and floor levelers as needed to ensure that the surface is completely flat and smooth.
Finally, build a platform with cement backing boards, making sure its surface is absolutely flat for the tub to be installed. Fasten each backing board with screws and tape the seams together. Finally, use a notched trowel to apply a thin layer of mortar to the backing boards until a flat base is formed to install the tub above.
Step 4 Install Plumbing Fixtures
After preparing the installation area, begin installing the drainage and water supply system. First, smooth the pipes to provide a stable base for the tub installation later.
First, find and cut a sub-drain hole at the main drain of the tub. Position it in the middle of the front and rear legs of the tub base. Then, install the drain pipe with the appropriate gasket and overflow kit.
After that, install the hot and cold water supply lines according to the manufacturer's instructions. Install the faucets, handles and spouts perfectly in the intended locations. In addition, this is also an ideal time to install the tub filler and pop-up drain.
Make sure all plumbing fixtures are secure and check for leaks. Turn on the water supply and check that the hot and cold water connections are working properly and the water pressure is normal. Finally, as long as the pipes are configured correctly, close all lines.
Step 5 Position the Tub
Carefully move it to the location in the bathroom where you want to install it. Any freestanding tub should not be moved or lifted when it is full of water, as this may cause serious damage.
Carefully read the handling guidelines provided by the tub manufacturer. When moving a large tub, have 2-3 strong people lift it, while others guide and guide the tub to the drain outlet. Grab the moving strap firmly to hold it more firmly against your body. Gently lower the tub until it is firmly secured to the floor.
Make sure the mounting hole is perfectly aligned with the floor drain straight up. Likewise, make sure each foot is in perfect, even contact with the floor. Before continuing with the installation, use shims to adjust it to the contours of the cast iron tub to keep it level (if necessary); do not proceed with the installation unless you are sure that the tub frame has not moved at all; also, make sure that the tub is centered in your area based on its width.

Step 6 Connect the Drain
Now that you have the tub in place, it is time to connect the drain assembly.
Apply plumbers putty to the bottom of the drain hole to ensure a waterproof seal. Pass the pipe through the tub and the drain hole, and then through the drain tailpiece from below. A rubber gasket should be placed on the tailpiece, followed by a friction ring and drain filter from above.
The friction ring locks around the drain tailpiece to secure the filter. Tighten it using a wrench or pliers. Align it correctly when connecting the overflow pipe above. Use tub and tile caulk to fill any gaps between the floor and drain fittings.
Turn on the water supply for a few seconds to check for any leaks or proper drainage, then turn it off again while you make the final connections.
Step 7 Secure the Tub
Your freestanding tub should now sit firmly and flat on the floor. However, taking a few extra steps can further prevent it from moving or wobbling.
If the tub feet are not level with the rest of the tub base, place shims under the feet. Check with a level and tap firmly with a hammer. You can use clear tub and tile adhesive to glue the feet to the floor on all sides for added stability.
On the two walls that meet the tub, you can also install metal angle brackets or wooden brackets. Attach them to the floor and tub, respectively, with screws and adhesive.
Finally, if applicable, apply caulk along the bottom where it meets the floor to seal against water ingress there; smooth it with a wet finger; and allow the caulk to dry completely.
Step 8 Connect the Water Supply
Now complete the plumbing work by connecting the hot and cold water supply lines, as well as other aspects.
First, place the compression nuts and washers over these pipes, extending past the water inlet. Wrap a layer of plumber tape around the threads to prevent leaks. Then screw the water supply pipes securely into the corresponding hot and cold water inlets on the tub faucet and tighten by hand.
Tighten the compression nuts further with a wrench until they are fully tightened. After confirming that there are no leaks from the valves or connections, turn on the main water supply. Tighten again if necessary; open both valves fully to maximize water flow.
Also remember to repair the hand shower, riser, and other fixtures. You should have completed this step by now. Make sure all plumbing components are working properly before continuing.
Step 9 Seal Around the Tub
Although important areas have been caulked, it is now imperative to thoroughly seal the tub surround as this will prevent leaks and water damage.
Apply a thick layer of tub and tile caulk around the bottom edge of the tub where it meets the floor. Seal all sides where the wall and tub meet, including the fixture around the overflow. Also, ensure that the application process is smooth and there are no gaps.

Additionally, seal the inside corners of the tub and where the tub deck meets the wall with silicone caulk. Allow plenty of time for it to cure before using the tub.
For added protection against leaks, you can also lay down waterproof membranes in places like where the floor meets the wall. If your bathroom has an exterior wall or floor behind the tub, you should install a vapor barrier.
Step 10 Final Touches
The hardest part is over, and with these final touches, your tub is ready for your first bath!
Now start installing the drain trim to hide the exposed hardware. Make sure to install the snaps for the overflow plate here, too, to hide any raw edges.
To remove dirt from the tub before first use, clean it thoroughly with a mild, non-abrasive cleaner and a damp microfiber cloth; never use harsh chemicals.
Finally, add some lighting ambiance. Install wall sconces or pendant lights to create a tranquil atmosphere. For the ultimate spa experience at home, place some tealights, candles, or bath oils around the edge of the tub!
FAQs About Installing a Freestanding Tub
How do I secure a freestanding tub?
You can secure a freestanding tub to the bathroom floor using silicone-based caulk. You can apply caulk around the tub before you set it in place. Once the tub is installed, you can apply silicone-based lubricant to the sides of the tub to ensure that the tub does not tip over.
Can a freestanding tub be placed against a wall?
Yes, you can place a freestanding tub against a wall. This will look beautiful, especially if you have some custom designs on your wall.
What type of flooring is best for a freestanding tub?
The floor must be completely solid and reinforced to support a fully filled tub (which can be over 1,000 pounds). Tile, concrete, or wood subfloors, with cement board or mortar padding, provide the best support. Carpet or vinyl flooring are less ideal because they tend to compress under weight.
Can I install a freestanding tub myself?
With adequate planning and preparation, you can definitely install a freestanding tub yourself. But always ask for help to lift the tub, as some models can weigh more than 500 pounds. Be sure to follow the manufacturer's instructions closely. If you have no prior plumbing experience, it is recommended that you seek professional help.
How to care for a freestanding tub?
After use, gently wipe the tub with a soft sponge or microfiber cloth and a mild, non-abrasive cleaner. Avoid using harsh chemicals. Every few weeks, apply car or marine wax to the outside of the tub to maintain its shine. Keep caulk and sealants intact to prevent moisture damage.
What are some common mistakes to avoid during installation?
Avoid the following mistakes: placing the tub on an uneven surface, misalignment with plumbing, poor drainage slope, insufficient ingress and egress space, and poor sealing. Also, never lift or move a full tub, ignore electrical and insulation requirements, and do not use harsh chemicals on the tub's surface.


