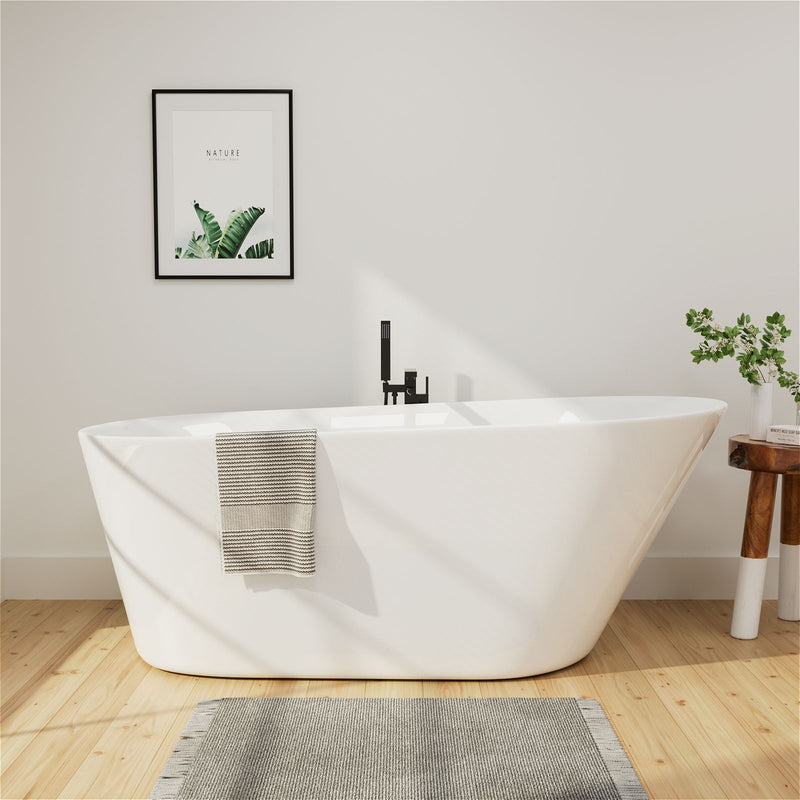
Your tub is likely one of the most used items in your bathroom. Whether you enjoy an early morning shower or a luxurious soak at the end of the day, you likely use it every day. The frequent use of your tub makes it more susceptible to normal wear and tear than less frequently used items in your home.
Over time, you may notice chips or cracks in your tub. Rough, uneven surfaces are not only uncomfortable to the touch, but they can also pose a safety hazard and may even cause scratches. Additionally, chips or cracks can worsen over time and, if not repaired, can cause more serious damage and even leaks. But instead of throwing out your tub and replacing it, you can extend its life with a few DIY tips.
Identify the problem and understand what your tub is made of
Identifying the damage and understanding what your tub is made of is the first step to a successful repair:
Type of Damage: Carefully inspect the damage to determine if the tub has minor chips, cracks, or gaping holes.
Material Identification: A simple tap will tell the material - a dull thump usually indicates fiberglass, while a more metallic feel indicates ceramic. You can tell if your tub is acrylic if you gently press on the side of it and it gives a bit.
Chips and small cracks in your tub can be easily fixed with a tub repair kit available at your local hardware store. The key to a successful DIY tub repair is to make sure you use the right repair or renovation kit for your tub surface. Do you know if your tub or shower is fiberglass, acrylic, porcelain, enamel, or ceramic? This is important because different surfaces require different types of epoxies. Epoxy repair kits are available for porcelain, enamel, ceramic, acrylic, and fiberglass tubs. They also come in a variety of white and cream colors to match common bathroom fixtures, so choose a kit that matches your tub.
Steps to Repair a Fiberglass Tub
Step 1 Prepare the Area
Before you begin work, be sure to wear a mask, goggles, and gloves, as you will be working with materials that may cause mild irritation. Open windows to increase ventilation while you work.
Wipe the hole with rubbing alcohol and a soft cloth to remove soap residue or dirt. A sponge and mild detergent can also help remove dirt.
Watch for smaller fiberglass fragments sticking out of the hole. These tend to show when fiberglass is damaged, hindering repairs. Use a utility knife to peel away loose fiberglass fragments around the hole to make it easier to fill.
Step 2 Patch the Hole
Now it's time to patch the hole. If you're using a bathtub patching kit, it will come with a resin and hardener that you can mix together to make a patch. You can also buy a two-component epoxy kit that will come with instructions for making a filler.
Build a work surface by mixing the various materials on disposable cardboard with an applicator. Apply masking tape to make a visible mark for the patching area. You'll need to remove the tape after applying the epoxy, though, to prevent it from sticking to the tub.
Use a small popsicle stick or spatula to smooth the epoxy into the hole and push it further down to fill the gap. It's easier to use a small amount of epoxy, as excess epoxy can be difficult to remove.
Step 3 Let the Patch Dry
Don't rush it; while the compound cures quickly, the patched area still needs time to dry. Drying time depends on the size of the hole or the epoxy manufacturer's guidelines, but it can take anywhere from a few hours to a full day. While this may be difficult, it's best not to take a bath during this time, as this can mess up the patch.
Step 4 Sand the Area
Once the patch is dry, it's time to sand it. Again, apply masking tape to give yourself some guide lines, as sandpaper can leave noticeable scratches on the tub. The lower the grit of the sandpaper, the rougher it will be. Sand with the coarse sandpaper first and finish with the finer sandpaper.
Use 80-grit wet and dry sandpaper to thoroughly sand the patched area to smooth out the filler and remove any bumps or ridges. As you sand, the filler becomes smoother, and you can finish with 400 to 600-grit wet and dry sandpaper. The patch is done when you can no longer distinguish the patched area from the rest of the tub.
Step 5 Apply Polish or Paint
You're finally done, but there's one step left: paint. Since most tubs are white, your repair kit may include paint that's a similar color to your tub. Follow the instructions listed and apply the paint with a paintbrush or roller. Or, if you don't have a repair kit, buy a small can of white paint.
If you're not good with painting, some repair kits come with polish. Apply it to the repaired area and rub it with a soft cloth until it matches the sheen of the tub. Let it dry for 24 hours before taking a shower.
Steps to Repair an Acrylic Tub
Step 1 Eliminate the Warp
If your acrylic tub has cracks, the first step is to prevent the tub's surface from warping, as excessive movement can cause cracks to reappear or further cracks to form. To do this, inspect the entire surface of the tub and find areas where the surface is warped. You'll need to drill several 0.25-inch (about 1.6 cm) diameter holes in the area around the crack, and drill a few additional holes near the edges of the crack. Be careful not to drill too deep, as you may drill through the other side of the tub.
Fill the holes with insulating foam. For best results, use a quick-drying, two-component foam so you don't have to wait for it to dry before you proceed. This foam fills the gaps between the tub's inner and outer surfaces, making it more stable. Some insulating foams are toxic if inhaled, so be sure to check the ingredient list and wear protective clothing (e.g., masks, gloves, goggles) when using them, especially if you have a history of respiratory or skin conditions.
Step 2 Stop the Crack
Now that you've stabilized the cavity of your acrylic tub, you'll need to prevent the crack from extending or reappearing after the repair. You can do this using a technique called stop-drilling. Drill a 0.25-inch hole on each end of the crack. Make sure you do this. Otherwise, even after you repair it, the crack will reappear later.
Step 3 Fill the Crack
When repairing cracks, never use epoxy filler. Use a two-component polyester filler and mix it according to the instructions on the can. Use a clean rubber applicator to apply the filler to the crack until it is completely filled, including the stop-drill hole. Allow the filler to dry completely before moving on to the next step.
Step 4 Sand the Filler
Once the filler is completely dry, sand it with very fine sandpaper. Use sandpaper of varying grits; start with P320 and end with P800. Sand gently until the surface of the filler is flush with the rest of the acrylic tub. When you are satisfied with the repair, wipe the surface with denatured alcohol and prepare it for spraying.
Step 5 Spray the Finish
For best results, purchase a portable sprayer designed specifically for this type of job. These are available at hardware stores.
Take your bathtub refinisher, which should match the color of your tub, and stir it thoroughly. Spray on a thin layer and let it dry before applying more layers. Continue applying as needed until the acrylic tub has a suitable finish. Allow the paint to cure before moving on to the final step.
Step 6 Polish the Tub
To finish the tub completely, you will need to polish it with a polyurethane auto polish. This will make the surface harder and smooth the edges of the paint. This will allow the color and repair work to blend in with the rest of the acrylic tub. As with foam insulation, wear protective clothing when using polish if you have respiratory or skin issues. Polyurethane is generally not toxic to humans, but you should still exercise caution.
Steps to Repair a Metal Bathtub
Step 1 Repair Chips and Dents
If left untreated, small cracks in the enamel can develop into rust. Here's how to fix it:
Clean the damaged area with soap and water, then dry thoroughly.
Sand the edges of the chip to smooth out any rough spots.
Fill the nick with bathtub repair epoxy and smooth it out with a putty knife.
Allow the epoxy to cure according to the product's instructions.
Sand the area smooth, then apply enamel touch-up paint to blend the repair in seamlessly.
Step 2 Remove Rust
Rust is more than just a cosmetic problem—it can harm the metal if left untreated.
Apply rust remover or white vinegar to the affected area. Let sit for 10-15 minutes.
Scrub the rust with fine-grit sandpaper or a steel wool pad.
Rinse and dry the area thoroughly. Apply a rust-preventing primer and finish with touch-up paint to seal the spot.
Step 3 Repair Surface Cracks
Cracks can cause leaks and need to be repaired immediately:
Clean and dry the cracked area thoroughly.
Fill the crack with epoxy, making sure it is completely sealed.
Smooth the epoxy with a putty knife and allow it to cure completely.
Sand the area smooth and apply a coat of enamel paint for a polished look.
Step 4 Repair Faded or Worn Surfaces
A thorough refinishing can restore the shine of a worn-out bathtub.
Lightly sand the tub to remove old layers of paint and prepare the surface.
Clean the tub thoroughly and seal the surrounding area with tape.
Apply a primer designed for bathtubs, then apply several thin coats of enamel paint or use a bathtub refinishing kit.
Let the tub cure for at least 24-48 hours before using.
Conclusion
Repairing a bathtub doesn't have to be difficult. With the right tools, materials, and techniques, it's easy to repair chips, rust, cracks, and other imperfections and restore the functionality and charm of your tub. Whether you want to repair a minor crack or completely renovate your tub, investing the time and effort to repair it can save the cost of replacing the tub, extend the life of the tub, and preserve the character of your bathroom.


