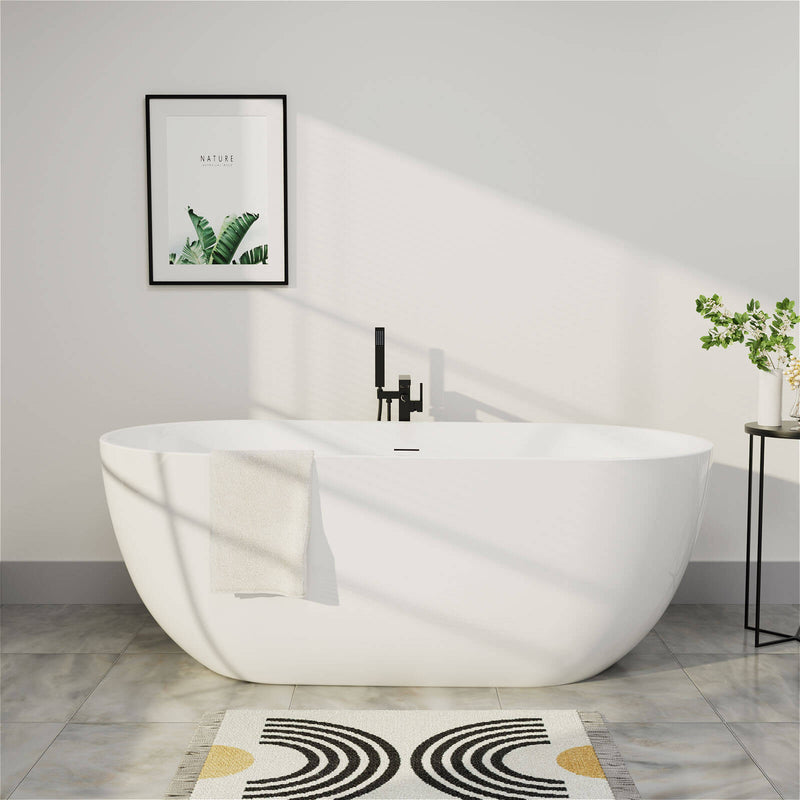
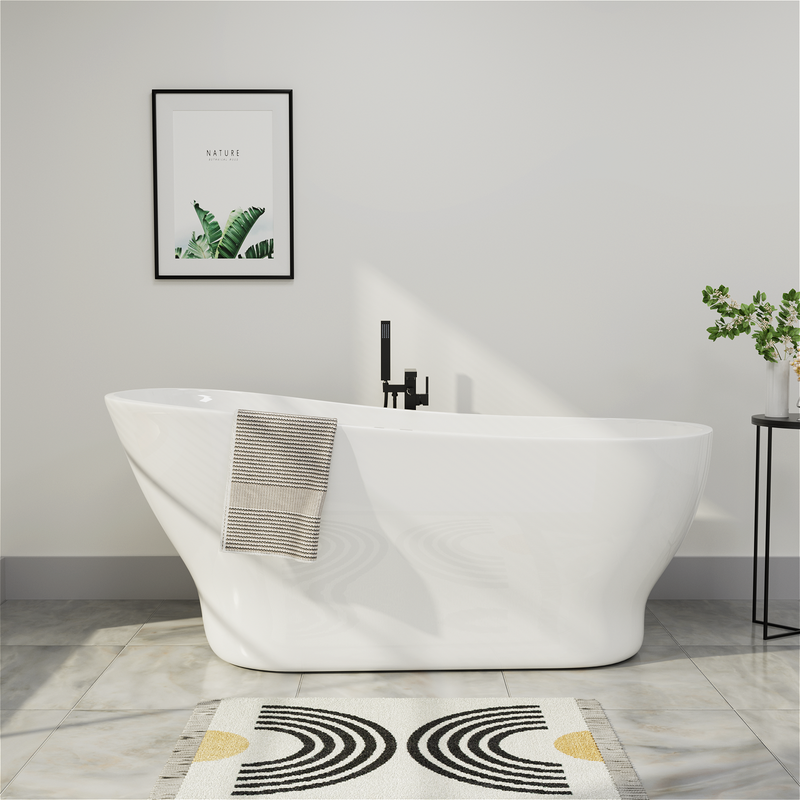
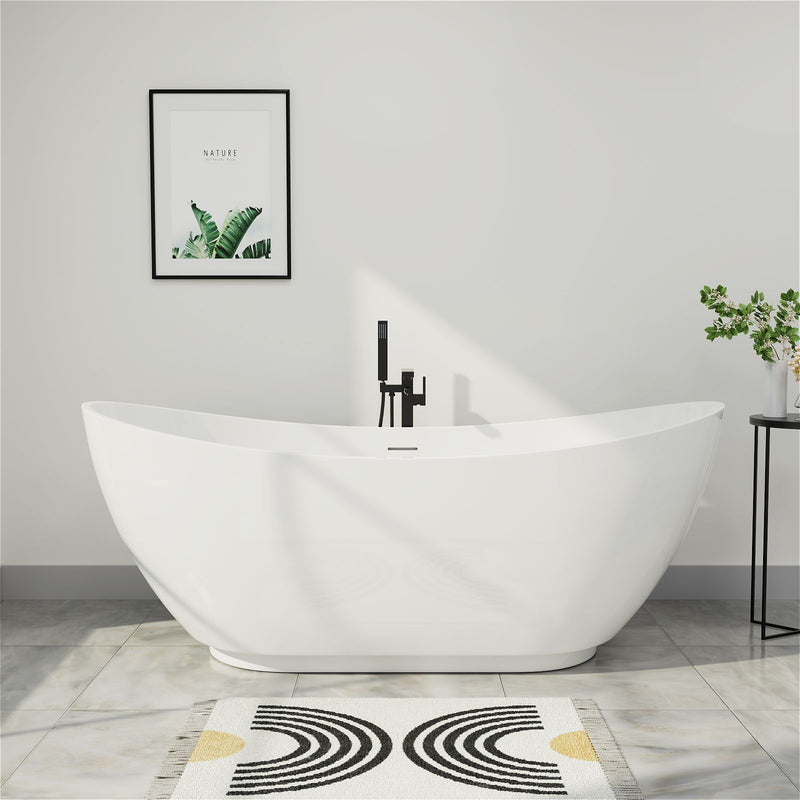
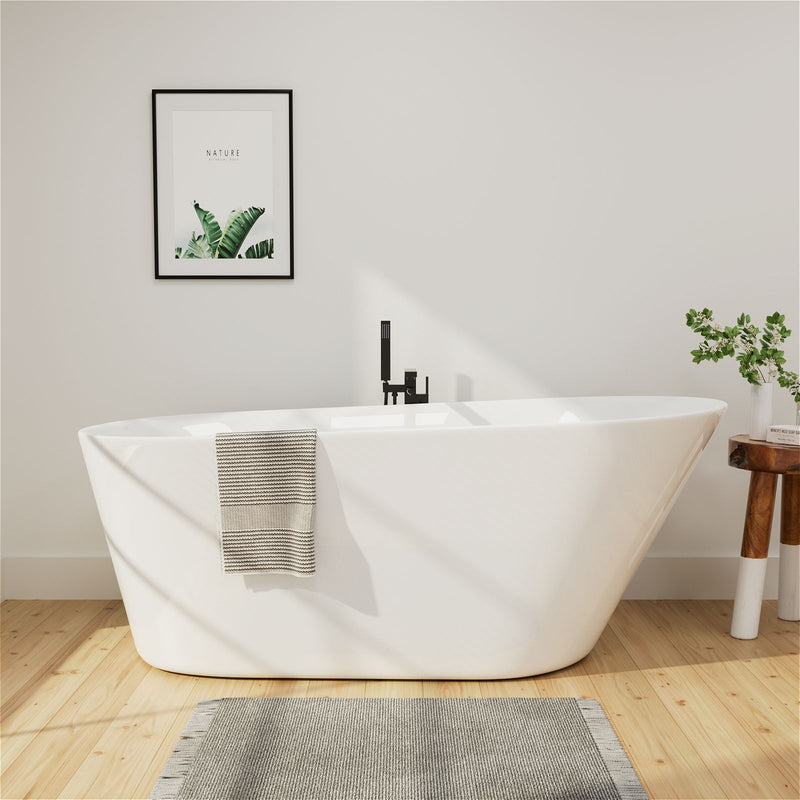
Acrylic bathtubs have become a popular choice for modern bathrooms due to their smooth surface, warm feel, and excellent heat retention. However, while beautiful and durable, this material is susceptible to damage from daily use. Everything from a dropped shampoo bottle to accidentally using abrasive cleaners to even grit from the bottom of your shoes can leave unsightly scratches. These scratches are not only unsightly but can also harbor bacteria.
Many people's first reaction to a scratched bathtub is to replace it, but this can often cost thousands of dollars. However, the vast majority of scratches can be eliminated with the right repair techniques. This guide will detail repair methods, from shallow scratches to deep damage, to help you restore your bathtub's original shine and extend its life. By following the correct steps, even beginners can achieve professional-level repair results.

Damage Assessment and Preparation
Scratch Depth Identification Techniques
The first step to a successful repair is to accurately determine the scratch's depth. Use the fingernail test: Gently run your fingernail over the scratched area. If your nail doesn't feel any resistance, it's a surface scratch, affecting only the gloss layer. If your nail feels a slight snagging sensation, the scratch has penetrated the gloss layer but not the pigmented layer. If your nail noticeably snags, it's a deep scratch, possibly damaging the base layer.
Another identification method is to use an oblique light source: shine a flashlight at a low angle on the scratched area and use the light and shadow effects to determine the scratch's depth. Deeper scratches will create a more pronounced shadow, while surface scratches will cast almost no shadow.
Repair Preparation Details
Prepare your work area to ensure good ventilation and ample lighting. First, thoroughly clean the bathtub using a neutral detergent to remove all dirt and grease, paying particular attention to the scratched area. Rinse thoroughly with clean water to remove any detergent residue.
Tools required will depend on the depth of the scratch. A basic tool kit should include: sandpaper of varying grits (400 to 3000 grit), a sanding block, polishing compound, a polishing machine (optional), a microfiber cloth, a water spray bottle, and a plastic scraper. For deep scratches, you'll also need acrylic filler and a color-matching kit.
Safety precautions are also crucial. Rubber gloves, safety glasses, and a dust mask should be prepared, especially when dry sanding to prevent inhalation of fine particles.
Repair Material and Tool Selection
Criteria for Sanding Material Selection
Water-based sandpaper selection should be based on a gradual progression. The starting grit of the sandpaper depends on the depth of the scratch: 400 grit is recommended for deep scratches, 800 grit for medium scratches, and 1200 grit for surface scratches. The grit of the sandpaper used should increase gradually, typically progressing from 400 grit to 600 grit, 800 grit to 1000 grit, 1200 grit to 1500 grit, 2000 grit to 2500 grit, and finally 3000 grit.
The choice of polishing material is equally important. Choose a polishing compound specifically designed for acrylic, typically consisting of three layers: a lapping compound, a polishing compound, and a final sealer. Avoid products containing wax or silicone, as these ingredients may cause adhesion issues for subsequent coatings.
Tool and Equipment Selection Guide
Power tools can significantly improve work efficiency. For large repairs, a double-action polisher with a speed between 2000 and 3000 RPM is recommended. Always use a sponge polishing pad and keep the tool in constant motion to prevent overheating.
Hand tools are equally important. Sanding blocks should be made of flexible rubber to better conform to the bathtub's curved surface. Use a spray bottle that produces a fine mist to ensure the surface remains moist during sanding.

Step-by-Step Restoration Procedure
Surface Cleaning and Pretreatment
Cleaning must be thorough. Use a plastic scraper to remove surface debris, then deep clean with an acrylic cleaner. Be especially careful not to use cleaners containing alcohol or solvents, as these can brittle acrylic.
Pretreatment includes protecting surrounding areas with tape, especially around metal parts and silicone seals. For particularly deep scratches, pre-treat with acrylic filler. Mix and apply according to the product's instructions, leaving enough excess for sanding.
A Detailed Analysis of Water Sanding Techniques
During water sanding, the surface must be kept moist. Apply approximately 10-15 ml of water per square foot, ideally at room temperature. Sand in a linear motion along the long axis of the tub, maintaining even and moderate pressure.
Pay special attention to the sanding angle. Hold the sanding block at a 5-10 degree angle to the surface, using a 50% overlap. Each time you change the grit of the sandpaper, change the sanding direction by 45 degrees to easily monitor the removal of the previous sandpaper marks.
Advancing grit requires patience. Use each grit until the marks from the previous step are completely gone. A typical work time for 400 grit sandpaper is 5-7 minutes, while 2000 grit sandpaper may only take 2-3 minutes. Thoroughly clean the surface before each sandpaper change.
Core Techniques of Polishing
Polishing is divided into three stages: initial polishing with abrasive compound to remove fine sanding marks; fine polishing with polishing compound to restore the surface gloss; and final treatment with sealant to provide a protective layer.
When operating a polishing machine, adhere to the "three maintenance" principles: maintain the appropriate speed, maintain continuous movement, and maintain even pressure. The polishing pad should be cleaned every ten minutes to prevent accumulated impurities from causing secondary scratches.
When hand polishing, use small circular motions with a diameter no larger than 10 cm, polishing each area for approximately 30 seconds. Check the polishing results frequently to avoid over-polishing and causing localized dents.
Treating Special Cases
Deep Damage Repair Methods
For scratches deeper than 0.5 mm, apply an acrylic filler first. Choose a color slightly lighter than the original color, as it will darken slightly after curing. Apply the filler in two separate applications, first filling approximately 80% of the depth and then applying the second filler after curing.
For multi-layer repairs, strictly adhere to the product's instructions for each coat's curing time. Typically, the first coat requires 15 minutes for initial curing, and the second coat requires 30 minutes for full curing. Maintain an ambient temperature between 18°C and 25°C during the curing process.
Color Matching Tips
Color matching is a challenging aspect of repair. The best way is to obtain the manufacturer's original color code. If this isn't possible, you can use a color chart for comparison. It's recommended to test the color in an inconspicuous area first and then observe the color match after it has fully cured.
For older bathtubs, consider the aging of the color. Acrylic bathtubs typically yellow slightly over time, so a small amount of yellow tint may be needed to achieve a perfect match.
Post-Repair Care and Maintenance
Key Post-Repair Care Tips
Wait at least 24 hours after the repair is completed before using the bathtub. For initial cleaning, use a pH-neutral detergent and avoid any abrasive cleaning tools. Weekly maintenance should include a special acrylic protectant to create a protective film.

During daily use, be careful to prevent sharp objects from dropping. It's recommended to place a non-slip mat in the bathtub for both slip resistance and protection. Regularly inspect the surface and address any minor scratches promptly.
Preventative Maintenance Measures
Establish a regular maintenance schedule: perform a deep clean monthly, apply a protectant quarterly, and perform a professional polish annually. Avoid using cleaning products containing strong acids and alkalis, as these chemicals can attack acrylic surfaces.
Usage habits are also important: avoid using abrasive cosmetics in the bathtub; trim pets' nails regularly; and handle items with care. These simple habits can significantly extend the life of your bathtub.
Common Problems and Solutions
Troubleshooting Problems During Restoration
If you encounter a color mismatch, don't rush to reapply. You can first use a transparency adjuster to fine-tune the finish. If this still isn't ideal, use a gradual gradation method to gradually adjust the color depth.
Bubbles are a common problem, usually caused by stirring the filler too quickly or by high ambient temperatures. Small bubbles can be punctured with a fine needle and refilled, while larger bubbles require removal and reapplying.
Remedies for Unsatisfactory Results
If haze marks appear after polishing, it may be due to excessive polishing speed or prolonged polishing. Reduce the speed and pressure and reapply. If a wavy surface appears, it indicates uneven pressure during the polishing process and requires reapplying the water polish.
For minor scratches that are difficult to remove, optical filling techniques can be used: first applying a highly transparent filler, then curing it with UV light, and finally polishing it. This method effectively conceals minor imperfections.
By mastering these detailed restoration techniques and maintenance methods, your acrylic bathtub will maintain its pristine appearance and performance for many years to come. Remember, regular maintenance and timely repairs are key to maintaining the beauty of your bathtub and preventing minor issues from becoming major, costly repairs.
Frequently Asked Questions: Acrylic Bathtub Scratch Repair
Q1: Can I use regular sandpaper to repair scratches in my acrylic tub?
A: No, regular sandpaper is too abrasive and will damage the surface. You should only use wet/dry sandpaper specifically designed for fine finishing. Start with a finer grit (like 600) and gradually move to ultra-fine grits (1500-2000+), always keeping the surface wet while sanding.
Q2: How can I tell if a scratch is too deep to repair myself?
A: Run your fingernail across the scratch. If your nail doesn't catch, it's likely a surface scratch you can fix yourself. If your nail catches significantly, or if you can see the fiberglass backing material, the damage is too severe for DIY repair and requires professional attention.
Q3: Will the repaired area look exactly the same as the original surface?
A: With careful work, you can achieve a nearly invisible repair. However, the refinished area might have a slightly different sheen or texture. The key is proper sanding progression and final polishing. Multiple polishing stages with increasingly fine compounds will help blend the repair.
Q4: Is it safe to use a heat gun or hair dryer to melt out scratches?
A: Absolutely not. Applying direct heat can warp, bubble, or permanently damage the acrylic surface. Always use mechanical methods (sanding and polishing) followed by chemical bonding with acrylic polish to restore the finish properly.
Q5: What's the difference between acrylic polish and regular wax?
A: Acrylic polish is specifically formulated to chemically bond with the surface, restoring gloss and providing protection. Regular wax merely coats the surface temporarily, can create a slippery surface, and may yellow over time. Always use products designed for acrylic surfaces.
Q6: How long does a DIY scratch repair typically last?
A: A properly executed repair can last for years. The longevity depends on the quality of materials used and how well you follow the repair steps. Using all recommended products and completing the final polishing stage ensures the most durable finish.
Q7: Can I repair colored acrylic tubs the same way?
A: Yes, the process is similar, but color matching is crucial. For colored tubs, you may need a tinted repair paste or professional coloring services after filling deep scratches. Always test any colored products in an inconspicuous area first.
Q8: What should I avoid when cleaning after the repair?
A: For the first week after repair, avoid harsh chemicals, abrasive cleaners, and scrubbing pads. Use only mild, non-abrasive cleaners and soft cloths to protect the newly refinished surface while it fully cures.
Q9: Why is the repaired area still visible after sanding?
A: This usually means you haven't progressed through fine enough sandpaper grits or skipped the polishing stages. The sanding sequence must go up to at least 2000 grit, followed by multiple polishing steps with quality acrylic polish to restore the original gloss.
Q10: When should I consider professional repair instead of DIY?
A: Seek professional help if: the damage is larger than a coin, multiple deep scratches are present, the fiberglass backing is visible, or if you're uncomfortable with any step of the process. Professional reglazing might be more cost-effective for extensive damage.


