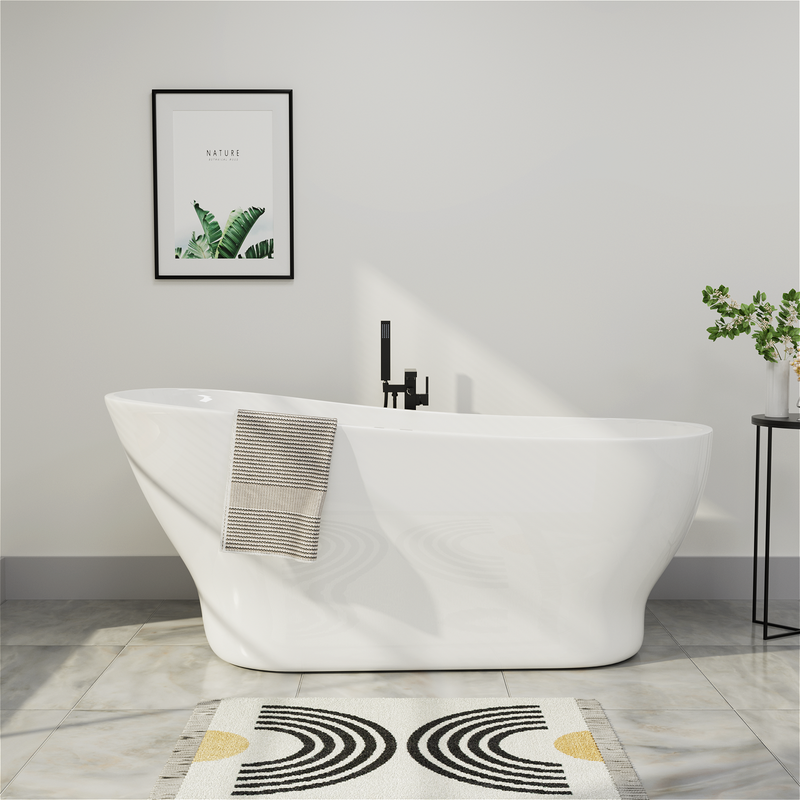
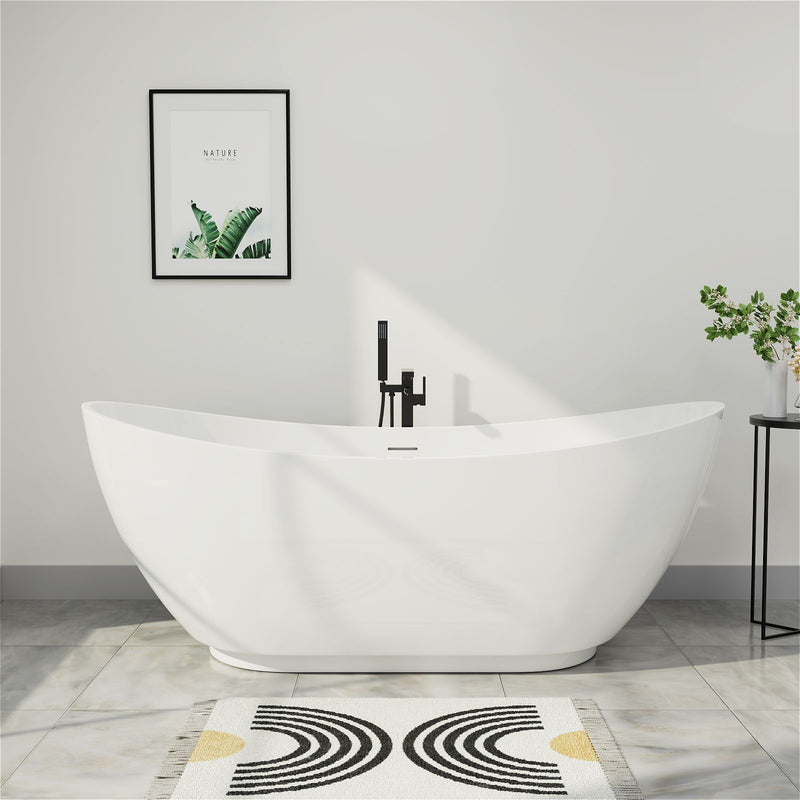
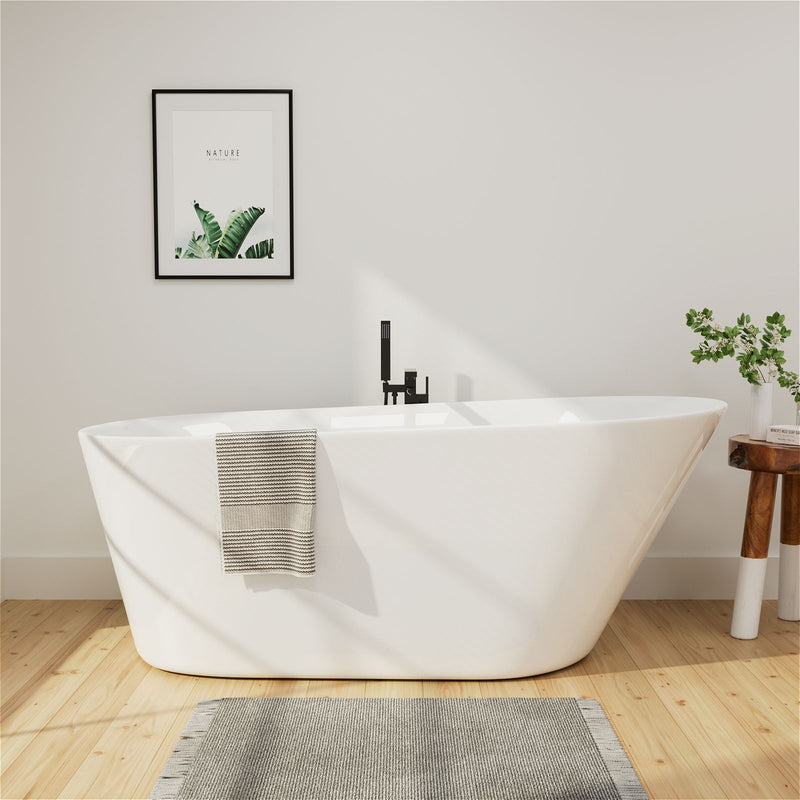
Installing an oval bathtub can enhance your bathroom's functionality and aesthetic appeal. However, the process requires careful planning, from assessing your space to securing plumbing connections. Proper preparation ensures a smooth installation and prevents costly mistakes like water damage or structural issues. This guide provides a detailed, step-by-step overview of what to expect during an oval bathtub installation, including practical tips for preparation, execution, and long-term maintenance. Whether you're a DIY enthusiast or hiring a professional, understanding the scope of the work will help you achieve a safe and functional result.
Pre-Installation Planning and Preparation
Assessing Your Bathroom Space and Requirements
Before purchasing an oval bathtub, evaluate your bathroom's layout and structural capacity. Start by measuring the available space to ensure the tub fits comfortably while allowing enough clearance for entry and exit. Account for door swings, existing fixtures, and walking space to avoid a cramped layout. Unlike rectangular tubs, oval designs often require more strategic placement due to their curved contours.

Next, verify that your floor can support the tub's weight, especially when filled with water and occupied. For example, a medium-sized oval tub can weigh over 1,000 pounds when full. If your home has older floor joists or a weak subfloor, consult a professional to assess whether reinforcements are needed. Additionally, check the placement of existing plumbing. Drain and water supply lines may need adjustments to align with the tub's design, which could add complexity and cost to the project.
Choosing the Right Oval Bathtub
Selecting a tub involves balancing aesthetics, material, and installation requirements. Consider the following factors:
- Material: Acrylic tubs are lightweight and retain heat well, while cast iron offers durability but is significantly heavier. Fiberglass composites fall somewhere in between but may be less durable.
- Type: Freestanding oval tubs provide flexibility in placement and a classic look, but they often require more floor space. Alcove tubs, which fit into three-wall enclosures, are ideal for smaller bathrooms.
- Specifications: Review the product's dimensions, drain location, and overflow mechanism before purchasing.
Gathering Necessary Tools and Materials
Having the right tools and materials on hand prevents delays during installation. You'll need:
- Basic Tools: A level, measuring tape, adjustable wrenches, screwdrivers, a hacksaw, and a drill.
- Plumbing Supplies: PVC pipes and fittings, pipe tape, a pipe cutter, and plumber's putty or rubber gaskets for sealing connections.
- Safety and Sealing Materials: Shims for leveling, mortar or a supportive base (if recommended), high-quality silicone caulk, and safety gear like gloves and goggles.
Clear the work area and remove any existing tub or obstacles before starting. If replacing an old tub, shut off the water supply and disconnect plumbing carefully to avoid damage to surrounding surfaces.
The Installation Process: A Step-by-Step Overview
Removing the Old Fixture and Preparing the Area
The initial phase of the physical installation involves careful removal of any existing bathtub. This process begins with shutting off the water supply to the bathroom to prevent accidental water discharge during disconnection. The subsequent disconnection of plumbing components requires methodical attention, particularly with older fittings that may be corroded or difficult to loosen. Drain and overflow assemblies typically require removal from beneath the tub, which might involve working in confined spaces with specialized tools. When detaching the tub itself from walls and floor, caution is necessary to avoid damaging surrounding surfaces that will remain in place.
Following the removal of the old tub, thorough preparation of the installation area creates optimal conditions for the new installation. This involves cleaning the subfloor and wall surfaces completely, removing any old adhesive, caulk residue, or debris that could prevent proper placement or leveling of the new tub. This stage also presents an opportunity to inspect exposed structural elements for water damage, rot, or other issues that should be addressed before proceeding. Any compromised subflooring should be replaced, and additional structural support installed if required to bear the new tub's weight. This is also an appropriate time to enhance waterproofing in surrounding walls, particularly in wet area applications, by installing or updating moisture barrier systems.
Setting and Leveling the Bathtub
Proper positioning and leveling of the oval bathtub represent perhaps the most critical steps in the installation process. Initially, the tub must be carefully maneuvered into its designated position, aligning its drain and overflow openings with the existing or modified plumbing connections. This process often requires multiple people due to the size, weight, and awkward shape of oval tubs, particularly those made from heavier materials like cast iron. Protective measures, such as placing moving blankets beneath the tub during positioning, can prevent damage to both the tub and floor surfaces.
Once positioned, precise leveling ensures proper water drainage and prevents structural stress. Using a long, reliable level placed across the tub's rim at multiple points verifies both side-to-side and front-to-back alignment. When unevenness is detected, plastic shims placed beneath the tub's base or feet provide adjustable support for achieving perfect leveling. Some installation scenarios, particularly those involving acrylic or fiberglass tubs, may require a mortar bed beneath the tub for additional support and to prevent flexing under load. Following manufacturer recommendations regarding support systems is essential, as improper support can lead to cracking, particularly in thinner material tubs.
Connecting Plumbing and Drain Systems
With the tub securely positioned and leveled, attention turns to reconnecting the plumbing systems. The drain and overflow assembly requires careful installation to prevent leaks and ensure proper functionality. This typically involves applying plumber's putty or a rubber gasket to the drain flange before inserting it through the drain hole from inside the tub. Beneath the tub, the drain waste shoe and overflow pipe are connected using appropriate washers and nuts, which must be tightened sufficiently to create watertight seals without over-tightening and risking damage to components.
Water supply connections come next, whether reinstalling existing faucet hardware or installing new components. Following manufacturer instructions for proper installation sequence and connection methods ensures optimal performance and prevents leaks. After completing all plumbing connections, conducting a preliminary leak test before proceeding further provides early detection of potential issues. This test involves temporarily restoring water pressure and running water into the tub while examining all connection points for moisture or dripping. Identifying and addressing leaks at this stage prevents more complicated repairs after completing the installation.
Sealing and Finishing Touches
The final installation phase focuses on sealing joints and applying finishing touches that enhance both functionality and appearance. Applying high-quality silicone caulk along the interface between the tub and adjacent walls creates a flexible, waterproof seal that prevents water infiltration into vulnerable spaces behind and beneath the tub. For a professional appearance, the caulk bead should be smooth and consistent, achievable through proper application technique and tooling with a damp finger or specialized caulking tool.
After sealing, allowing adequate curing time before using the tub is essential for the sealant to achieve its full waterproof properties. This typically requires at least 24 hours, though specific products may have different recommendations. Once cured, installing remaining trim pieces, such as overflow cover plates and access panels, completes the visual presentation. A final thorough cleaning removes any construction debris, dust, or fingerprints, preparing the tub for its initial use. Conducting a comprehensive final test, including filling the tub completely and checking for proper drainage and any signs of leakage or movement, ensures everything functions as intended before regular use begins.
Maintenance and Safety Considerations
Proper maintenance begins with establishing a consistent cleaning routine. Use a soft cloth with mild, non-abrasive cleaners specifically formulated for your tub's material. Avoid harsh chemicals and abrasive tools that can damage the surface. Regular cleaning prevents soap scum and mineral buildup, preserving the tub's appearance and hygiene.

Implement a preventive maintenance schedule to identify potential issues early. Monthly, inspect the silicone caulking around tub edges for cracking or separation, as damaged caulk allows water seepage that can cause structural problems. Quarterly, check the drain mechanism and overflow cover for proper operation. For whirlpool tubs, follow the manufacturer's maintenance schedule for cleaning the jet system to prevent bacterial growth.
Safety measures are equally important for long-term tub enjoyment. Install non-slip bath mats or adhesive safety strips to prevent slipping accidents. Consider adding properly installed grab bars for stability when entering and exiting the tub. Maintain water temperature at 120°F (49°C) or lower to prevent scalding, and never leave children unsupervised during bathing.
Proper ventilation protects both your tub and bathroom. Run the exhaust fan during and after bathing to remove excess moisture, preventing mold and mildew growth. Wipe down tub walls and surrounding surfaces after use to eliminate standing water. Periodically check for moisture damage on adjacent walls and floors, addressing any issues promptly to maintain your bathroom's integrity and your oval bathtub's longevity.
FAQs
How long does it take to install an oval bathtub?
A straightforward replacement typically takes 6–8 hours and can often be completed in one day. However, projects involving plumbing adjustments, structural repairs, or custom enclosures may take two or more days.
Can I install an oval bathtub myself?
DIY installation is feasible if you have advanced plumbing and renovation skills and are performing a like-for-like replacement. For complex tasks like relocating plumbing or electrical work, hire a licensed professional to ensure compliance with local building codes.
Do I need to tile under a freestanding oval bathtub?
It depends on the tub's design. Many freestanding models allow tile to run underneath, simplifying cleaning and creating a seamless look. However, some designs require direct placement on the subfloor. Always consult the manufacturer's instructions.
What is the most common mistake to avoid during installation?
Failing to level the tub properly is the most critical error. An unlevel tub leads to poor drainage, standing water, and potential structural damage. Take the time to verify levelness with a spirit level and shims.
How do I maintain my oval bathtub?
Clean the tub regularly with a non-abrasive, manufacturer-approved cleaner. Avoid harsh scrubbing tools that could damage the surface. Rinse the tub after each use to minimize soap scum buildup, and periodically check for cracks or leaks.
Conclusion
Installing an oval bathtub requires meticulous planning, from measuring your space to securing plumbing connections. By following these guidelines, you can ensure a functional and visually appealing result. Always prioritize safety and consult professionals for complex tasks. With proper preparation and attention to detail, your new oval bathtub will serve as a durable and enjoyable addition to your bathroom.


