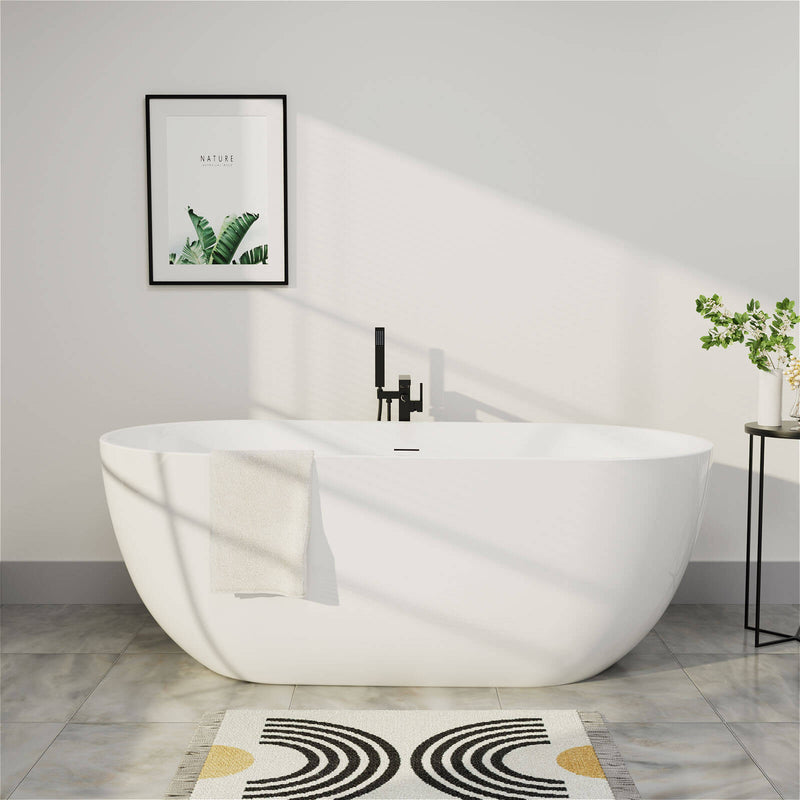
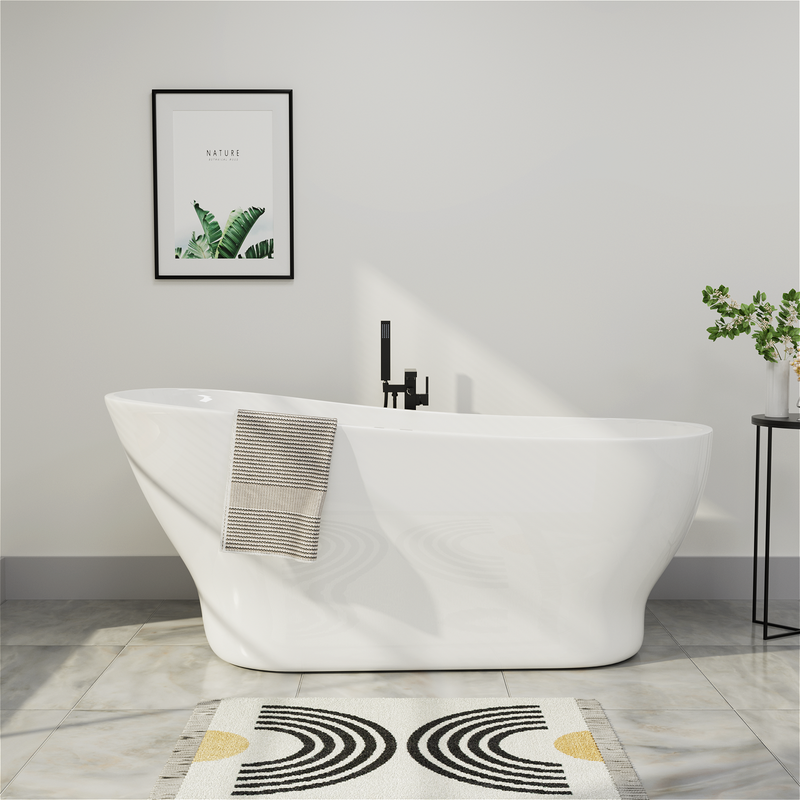
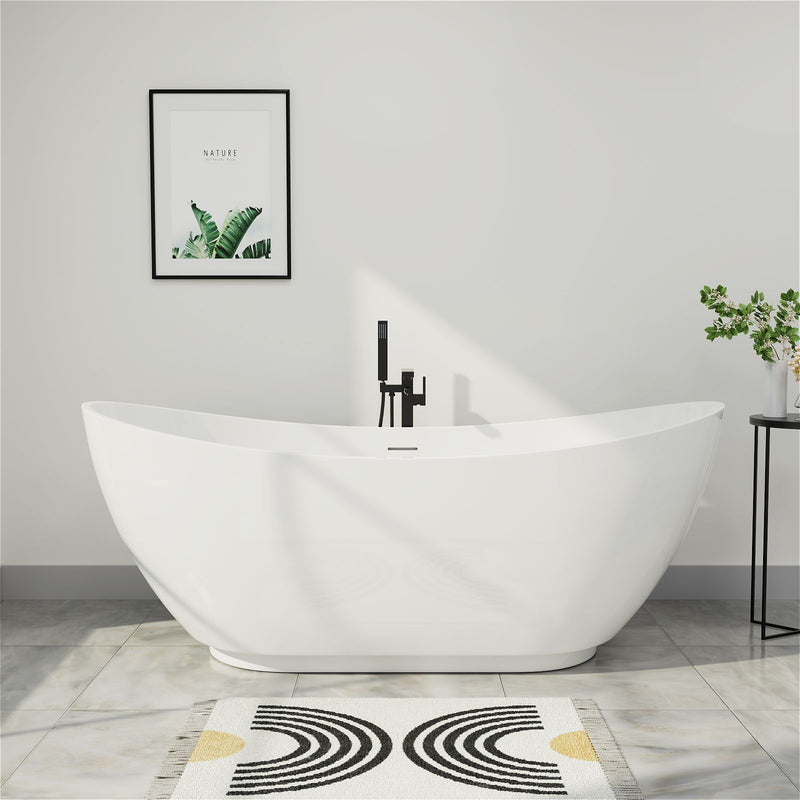
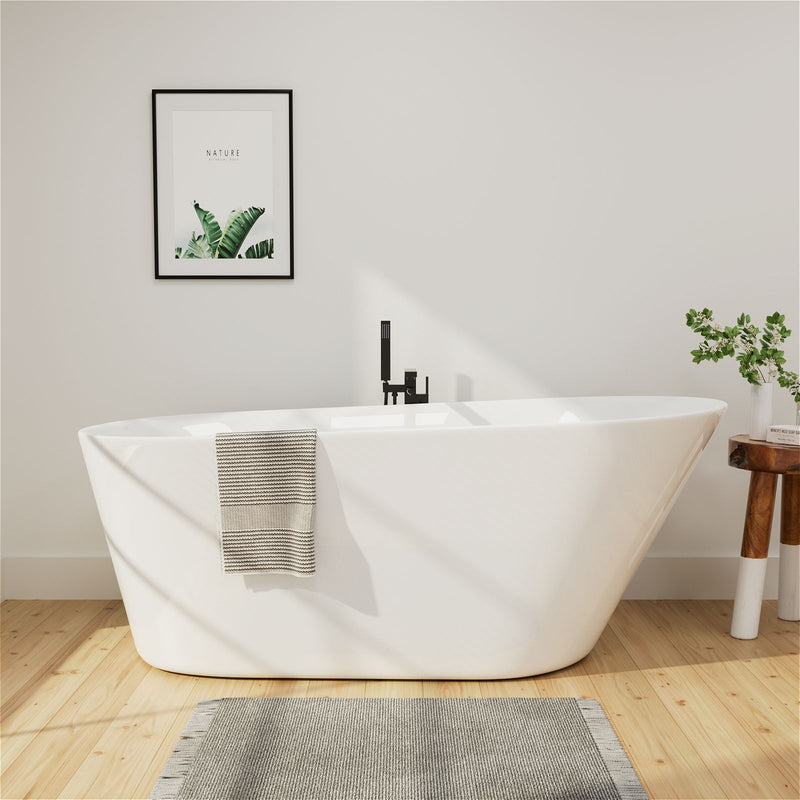
In modern home design, bathtubs have long surpassed the simple function of bathing and evolved into a private temple for relaxation and energy restoration. As the canvas of this world, the selection and matching of tiles directly affect the quality and atmosphere of the bathing experience. Well-designed bathtub area tiles not only need to meet practical needs such as waterproof and anti-slip, but also bear the heavy responsibility of creating spatial aesthetics - from the first ray of sunshine that awakens vitality in the morning to the warm bath that soothes the body and mind at night, each tile participates in this daily ritual in silence.
The tile design in the bathtub area is a delicate art of balance: it must consider the sensory experience when the material contacts the human body, and take into account the durability of long-term use; it must create a visually harmonious beauty and meet practical functional needs. Whether it is the elegant curves of a stand-alone bathtub or the simple lines of a built-in bathtub, a matching tile solution is needed to highlight its unique charm. When water and light interweave and dance on the surface of carefully selected tiles, ordinary bathing time can be sublimated into a sensory feast.

This article will take you to explore the various dimensions of bathtub area tile design, from basic material selection to creative matching skills, from lighting interaction to detail processing, to provide you with a comprehensive guide to create an ideal bathing space. Whether you love the tranquil Zen Japanese bathhouse style or prefer the modern and simple urban SPA style, you can find the right tile design inspiration here. Let us start this aesthetic journey of water, light and porcelain together and redefine the bathing experience in your home.
Basic Selection Of Tiles Around The Bathtub
As the core of the wet area of the bathroom, the bathtub area needs to consider multiple factors when choosing tiles. Anti-slip performance is the primary consideration. Tiles with an anti-slip coefficient of R10 or above should be laid within at least 60cm around the bathtub, especially when the bathtub is combined with a shower function. In terms of water absorption, it is recommended to choose porcelain tiles with a water absorption rate of less than 3% to avoid long-term water vapor penetration causing discoloration or mold growth of the brick body. In terms of size selection, small and medium-sized tiles (100x100mm to 300x300mm) are more suitable for the construction of bathtub curves and drainage slopes. Although large-sized tiles have fewer joints, they need to be cut accurately.
The surface treatment of the material is also worth noting. Matte or soft-gloss surfaces can prevent obvious water stains, but will not be too slippery when wet like high-gloss tiles. Glazed tiles are easy to clean and colorful, suitable for creating personalized spaces; full-body tiles are more wear-resistant and not easy to look old after long-term use. For freestanding bathtubs, it is recommended to reserve a 3-5mm expansion joint at the edge where the floor and the bathtub meet, and treat it with a flexible waterproof sealant to prevent water from seeping into the bottom.
Visual Focus Design Of Bathtub Background Wall
The bathtub background wall is an excellent stage for displaying design creativity. Long strips of tiles laid vertically can stretch the height of the space, which is particularly suitable for matching the elegant lines of a freestanding bathtub. Gradient-colored tiles change from dark to light from bottom to top, simulating the visual effect of rippling water, adding dynamic beauty to bathing. Three-dimensional textured tiles that have become popular in recent years, such as the concave and convex surfaces that imitate natural stone, are not only beautiful but also enhance the drainage of the wall.
As a classic element, mosaic parquet has been reborn in the application of bathtub background walls. Gradient glass mosaics can create a rippling water pattern, while stone mosaics can create a natural atmosphere like a spa club. For designs that don't want to be too ostentatious, you can choose to mix tiles of the same color but with different surface treatments, such as alternating glossy and matte, to produce subtle changes under the light. Remember to keep the background wall pattern and the bathtub shape in the same style. Curved bathtubs are suitable for organic patterns, while square bathtubs are more suitable for geometric shapes.

Emotional Guidance Of Color Matching
Color psychology is particularly important in the design of the bathtub area. The classic blue and white color scheme can always evoke a sense of tranquility like the ocean. Light blue walls with white bathtubs and dark blue mosaics as waterline decorations are the safest and most effective choices. Earth tones such as sandy beige and light brown can create a natural relaxation like a hot spring, which is especially suitable for matching Japanese wooden barrel bathtubs.
Bold use of dark tones is becoming a trend. Dark green, dark gray or even black walls, paired with white stand-alone bathtubs, create a dramatic contrast effect. This design requires sufficient lighting. It is recommended to install waterproof wall lamps on both sides of the bathtub to ensure functional lighting and create an atmosphere. The two-color combination is also very colorful, such as dark tiles on the lower half of the wall + light colors on the upper half of the wall, separated by a decorative waistline, visually dividing the space while maintaining a sense of integrity.
Balance Between Functionality And Aesthetics
The tile design of the bathtub area needs to find a balance between beauty and practicality. The height of the splash wall is usually designed to be 120-150cm above the edge of the bathtub. More decorative tiles can be used in this area, while ordinary tiles with higher cost performance can be used in the upper part. The wall around the bathtub faucet is the most prone to water accumulation. It is recommended to use smaller tiles (about 100x100mm) to facilitate accurate drainage slope.
The skirt treatment of the embedded bathtub is also critical. The tiles should completely cover the bathtub bracket and leave an inspection port. A smart way is to use decorative tiles with magnetic cover plates, which are both beautiful and easy to maintain later. For massage bathtubs, it should be noted that the tile joints cannot face the jets to avoid long-term water pressure shock causing the caulking agent to fall off. The slope of ground drainage should be towards the floor drain, and large-sized tiles need to be grooved to enhance drainage efficiency.

Creative Expression Of Material Mix And Match
Break through the limitation of single material, and try creative combination of multiple materials in the bathtub area. It is common to mix ceramic tiles with natural stones, such as marble tiles on the wall and slate tiles with better anti-slip performance on the floor. The combination of wood-grain tiles and cement-grain tiles can create a collision between nature and modernity, which is especially suitable for semi-outdoor bathtub space.
The material gradient design that has been popular in recent years is also worth trying. The wall-side part of the bathtub uses 3D three-dimensional tiles to simulate water ripples, and gradually transitions to flat tiles outward. Another innovative approach is to lay pebble-effect tiles on the periphery of the bathtub, which is both anti-slip and creates the artistic conception of a natural hot spring. The interlaced use of glass tiles and ceramic tiles can increase light refraction, making the small space bathtub area appear more transparent.
Interaction Between Lighting Design And Tiles
Light can completely change the presentation effect of tiles in the bathtub area. Recessed waterproof spotlights are the basic configuration. It is recommended to install them on the walls on both sides of the bathtub. The best angle of light is 30 degrees, which can highlight the texture of the tiles without directly hitting the eyes. Hidden light strips can be installed under the bathtub countertop or on the edge of the niche to create a soft atmosphere by diffusely reflecting light.
The intelligent dimming system can make the same space present different effects. The bright mode (4000K color temperature) is suitable for daily cleaning, and the warm yellow mode (2700K) creates a relaxing bathing atmosphere. If the bathtub is close to the window, choosing UV-protected tiles can prevent fading caused by direct sunlight. Metal mosaics with mirror effects can be strategically arranged on the light reflection path to allow natural light to jump and flow in the space.
Exquisite Treatment Of Details
The details of the bathtub area determine the overall quality. It is recommended to use special tile trimming strips or 45-degree chamfered splicing for external corners, which is more upscale than traditional plastic trimming strips. There should be an 8-10mm gap at the junction of the bathtub and the wall, which should be sealed with elastic anti-mildew silicone. It is recommended to choose a neutral color similar to the tile.
The niche is a good design to improve the practicality of the bathtub area. The tile joints of the embedded storage space must be aligned, and the edges should be chamfered 2mm to prevent cutting hands. The floor drain can be made of long strips of tiles of the same color as the main floor tiles but different specifications, which can ensure drainage efficiency without destroying the overall sense. For the bathtub area with a window, the window sill should make a 2-3% drainage slope outward to prevent water from seeping into the wall.

Practical Considerations For Cleaning And Maintenance
The daily maintenance of tiles in the bathtub area should be considered from the material selection stage. Glazed tiles are more resistant to stains than full-body tiles, and dark tiles are less likely to show scale than light-colored ones. It is recommended to choose epoxy resin material for caulking. Although the construction is difficult, it has excellent long-term anti-mildew performance. Although tiles with concave and convex textures on the surface have good anti-slip effect, they may need a soft brush to assist when cleaning.
During the design phase, cleaning convenience should be considered to avoid designing too many narrow gaps or complex shapes around the bathtub. When the shower area is combined with the bathtub, it is recommended to make a height difference of 1-2cm to prevent water from overflowing. Regular maintenance is also important. Use a special tile protective agent every 3-6 months to extend the life of the tile and maintain its color. For areas where scale has already appeared, it can be treated with a diluted white vinegar water solution to avoid using strong acidic cleaners to damage the glaze.
FAQs
What size is the most suitable for floor tiles around the bathtub?
Small and medium-sized tiles (100x100mm to 300x300mm) are most suitable for the bathtub area, which is convenient for making drainage slopes and has good anti-slip performance. Oversized tiles require precise cutting, which is difficult to construct and may not have ideal drainage effects.
How to choose tiles for a massage bathtub?
Thick tiles (10-12mm) with good impact resistance are preferred, and the joints should be avoided from the jet position. It is recommended to choose a matte finish for the surface, which is both anti-slip and will not produce excessive noise due to water flow impact.
Will marble-patterned tiles be too cold for the bathtub background wall?
It can be adjusted through lighting and accessories. Adding warm-colored light strips, wooden shelves or velvet carpets can neutralize the coldness of the stone. Choosing beige instead of pure white marble can also add warmth.
How to lay tiles in the bathtub area of a small bathroom to make it look bigger?
Use light-colored small and medium-sized tiles uniformly, and lay them vertically on the wall to extend the visual height. The floor is laid diagonally to break the sense of spatial limitations, and the bathtub background wall uses reflective materials to increase transparency.
How to design tiles in the area where the bathtub and shower are together?
The dry and wet areas use tiles of the same series but different specifications. The shower area uses small tiles to enhance anti-slip, and the bathtub area uses medium tiles to maintain the overall sense. Functional areas can be naturally divided by different laying directions or decorative lines.
How to deal with mold in the gaps of bathtub tiles?
First treat it with a special mildew remover, remove the old caulking agent after it is completely dry, and re-make epoxy colored sand seams. Keep ventilation every day, wipe the wall dry in time after bathing, and use mildew-proof spray regularly to prevent it.


